

How to get the Cozy Sleeping Bag
A trip across Azeroth, a little climbing, and a reusable XP buff. Follow the route with maps and real in-game quest windows from our Wow Buddy video.
Horde starts in the Barrens, then visits Westfall. Alliance starts in Westfall, then visits the Barrens. After those two stops, both factions follow the same route. The footage below follows Horde.
1. The Barrens and Westfall
Begin … and that note you found at the Burned-Out Remains. Visit both locations, in your faction’s order, before heading to Stonetalon.
The Barrens — burned tower south of Camp Taurajo
Look for the ruined tower in the southern Barrens, around 46.3, 73.9. Click the Burned-Out Remains beneath it and accept the note quest. This is the first stop for Horde and the second for Alliance.
▶ Watch the Barrens stop · 1:20Westfall — Alexston Farmstead
Find the Burned-Out Remains in the field near 37.3, 50.8, toward Westfall’s western side. Horde arrives here after the Barrens; Alliance begins here. Interact with the remains and the Nailed Plank at the site to continue to Stepping Stones.
▶ Watch the Westfall stop · 1:392. Stonetalon Mountains — the hidden camp
Travel to the mountains north of Sun Rock Retreat. Follow the narrow path shown in the video up through the peaks to the tent and campfire, around 40.8, 52.6. Click Pocket Litter by the tent, turn in Stepping Stones, choose your reward, and accept Scramble.
Don’t hearth or leave the mountains yet: the next stop is just over the hill to the north.
▶ Follow the mountain path · 1:573. Stonetalon Mountains — Mound of Dirt
Continue north from the tent and over the ridge to around 39.6, 49.8. Look for the Mound of Dirt on the slope. Watch your footing around the cliffs. Turn in Scramble and accept Wet Job before leaving.
▶ Find the mound without falling · 3:054. Loch Modan — Stonewrought Dam
Go to the dam at the north end of Loch Modan. The objective is on a ledge below the top of the dam, around 49.5, 12.7. Carefully descend to the small camp shown below, rather than dropping all the way down. Click the Carved Figurine to complete Wet Job, then accept Eagle’s Fist.
▶ Watch the dam ledge · 3:405. Thoradin’s Wall — climb to the camp
The last destination is the wall between Hillsbrad Foothills and Arathi Highlands. Approach the broken section from the Hillsbrad side, around 87.8, 47.9. Follow the rubble and ledges upward, then enter the tower room at the top. This is the fiddliest part of the route; the video shows the jumps and the failed attempts too.
▶ Watch the complete wall climb · 3:58Inside the camp, click the Messenger Bag to complete Eagle’s Fist. Accept This Must Be The Place, then interact with the Hastily Rolled-up Satchel to claim your Cozy Sleeping Bag. The reward window in our footage also shows five Student Fodder.
▶ Watch the final turn-in · 5:30How to use the Cozy Sleeping Bag
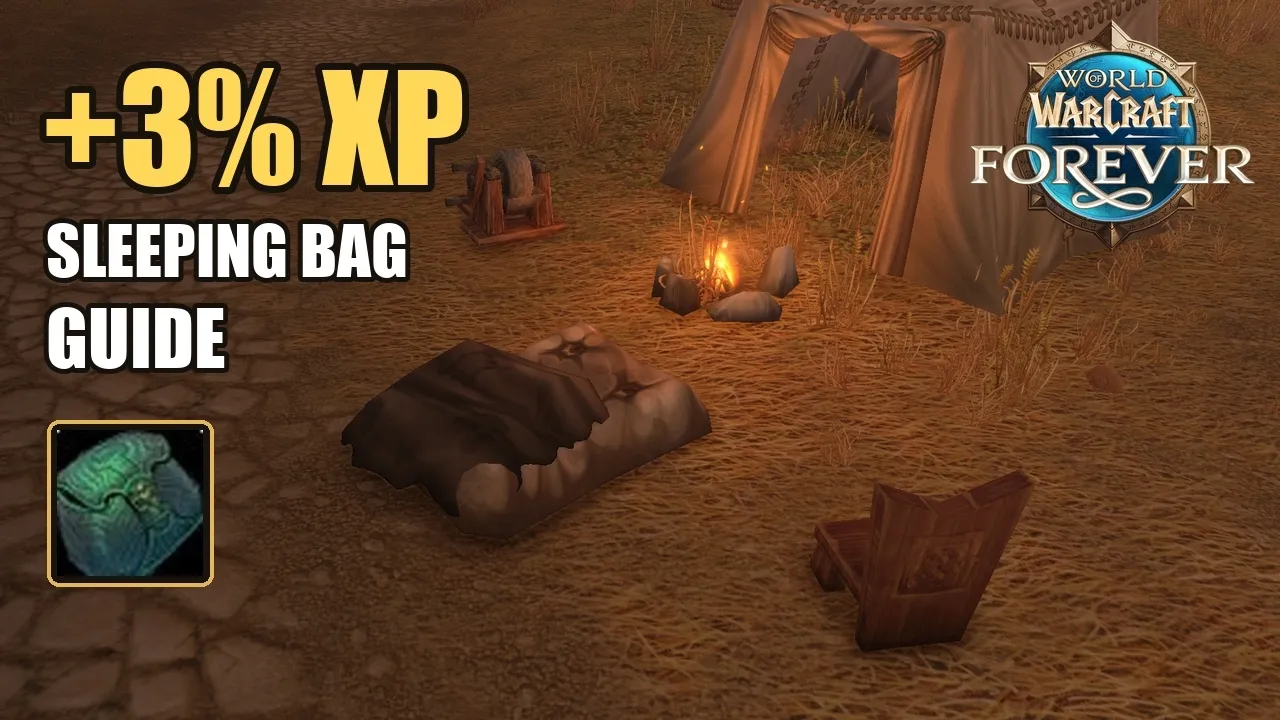
Use the item to unfurl it on the ground, then rest inside. Our walkthrough shows one minute for each 1% XP stack, up to three stacks. The Well-Rested buff tooltip shows a two-hour duration. The video explains that the bag has a one-hour cooldown and party members can use it too.
Before heading back out to quest, check that your Well-Rested buff has reached the stack count you want.
▶ Watch the buff explanation · 0:09